7 DIY Window Decals: Tips and Tricks for a Professional Look
Window decals are a fantastic way to add personality and style to your home or business. Whether you want to promote your brand, display your favorite quote, or simply add a pop of color to your space, DIY window decals are a fun and easy way to achieve a professional look without breaking the bank.
1. Choose the Right Material
When creating DIY window decals, it's crucial to choose the right material for the job. Opt for a high-quality vinyl material that is durable and weather-resistant. This will ensure that your decals last longer and maintain their vibrant colors even when exposed to sunlight and harsh weather conditions.
2. Use the Right Tools
Invest in the right tools to make the application process easier and more efficient. A squeegee, ruler, and cutting mat are essential for achieving clean and precise cuts. Additionally, a spray bottle filled with a mixture of water and a few drops of dish soap can help you easily apply the decals without any air bubbles or wrinkles.
People Also Look For:
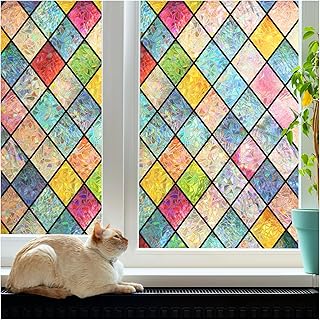
- WAENLIR Rainbow Window Film Privacy Film for Glass Windows, 3D Stained Glass Decorative Window Stickers, Static Cling Window Vinyl
- dktie Window Film Vinyl Non Adhesive Privacy Film Stained Glass Window Film for Bathroom Shower Door Heat Cotrol Anti UV 44.5x200c...
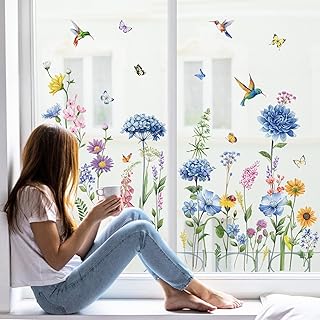
- Supzone White Flower Butterflies Window Stickers Spring Summer Floral Window Decals Anti-Collision Static Window Clings Glass Deco...
- Haton Rainbow Window Film Window Stickers for Glass Privacy, Non-Adhesive Static Cling Removable Vinyl 3D Decorative Films Glass C...
- HJZHII 52 Pcs Circle Window Decals, Anti-Collision Windows Decal to Save Bird No Glue Circle Window Clings Reusable Prismatic Rain...
3. Design with Purpose
Before creating your DIY window decals, take some time to plan out your design. Whether you're promoting a sale, showcasing your logo, or adding a decorative touch to your space, make sure your design serves a purpose and effectively communicates your message. Keep it simple and avoid cluttering your windows with too much information.
4. Measure Twice, Cut Once
Precision is key when it comes to DIY window decals. Measure your windows carefully and double-check your measurements before cutting the vinyl material. This will help you avoid any costly mistakes and ensure that your decals fit perfectly on your windows.
5. Clean and Prep Your Windows
Before applying your DIY window decals, make sure to clean and prep your windows properly. Use a mild detergent and water solution to remove any dirt, dust, or grease from the surface. This will help the decals adhere better and prevent any peeling or bubbling over time.
6. Apply with Care
When applying your DIY window decals, take your time and do it with care. Start by spraying the window with the water and dish soap mixture to create a slippery surface. Then, carefully place the decal on the window and use the squeegee to smooth out any air bubbles or wrinkles. Work from the center outwards to ensure a smooth and even application.
7. Seal the Deal
Once you've applied your DIY window decals, seal the deal by using a sealant or clear coat spray to protect the decals from fading or peeling. This extra step will extend the life of your decals and keep them looking fresh and vibrant for years to come.